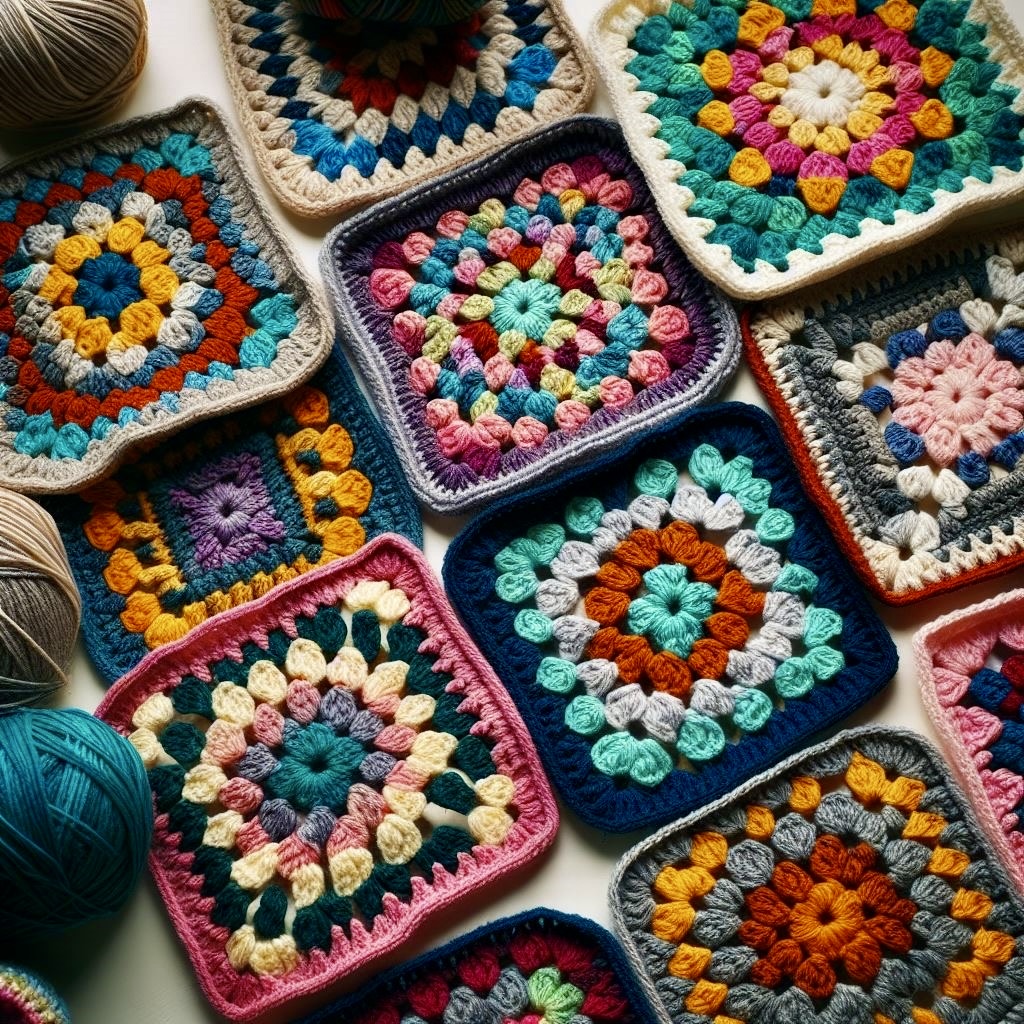
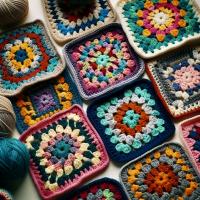
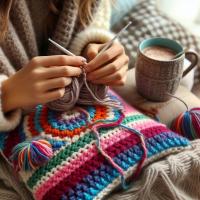
Materials Needed:
-Yarn: Choose your favorite color(s) of yarn. Granny squares are a great way to use up leftover yarn!
- Crochet Hook: Use an appropriate hook size for your yarn (usually specified on the yarn label).
- Scissors
- Yarn Needle(for weaving in ends)
Instructions:
1. Start with a Slip Knot:
- Create a slip knot by making a loop with the yarn and pulling the tail through. Insert your crochet hook into the loop and tighten.
2. Chain Stitch (Ch):
- Chain 4 stitches (Ch 4) to create the center ring.
- Slip stitch (Sl st) into the first chain to form a ring.
3. Round 1:
- Chain 3 (counts as your first double crochet).
- Work 2 double crochets (DC) into the ring.
- Chain 2 (creates the corner space).
- Repeat the following sequence three more times:
- 3 DC into the ring.
- Ch 2.
- Slip stitch into the top of the beginning chain-3 to
close the round.
4. Round 2:
-
Chain 3 (counts as your first DC). - Work 2 DC into the corner space from the previous round. - Chain 2. - Repeat the following sequence three more times: - 3 DC in the next space. - Ch 2. - Slip stitch into the top of the beginning chain-3 to close the round. 5. Continue: - Repeat Round 2 until your granny square reaches the desired size. You can change colors after each round or stick with one color it's up to you! 6.Finishing - Fasten off by cutting the yarn, leaving a tail. - Weave in the ends using a yarn needle. Tips: - Tension Matters: Keep your tension consistent throughout to ensure uniform squares. - Blocking To make your squares even, block them by wetting them and pinning them to shape. -Joining:Sew or crochet your granny squares together to create larger projects. Remember, practice makes perfect! Enjoy creating beautiful granny squares, and soon you'll have a cozy blanket or a colorful scarf to show off. Happy crocheting!


